These days, one of the key success factors for any business is an online presence. It's not a secret that having an online version of your store significantly increases sales and brings in new customers due to the power of search engines. That's why the ACQ platform will be a great solution for almost any type of business and will allow you to gain a competitive advantage in less than 20 minutes! Let's see how it works.
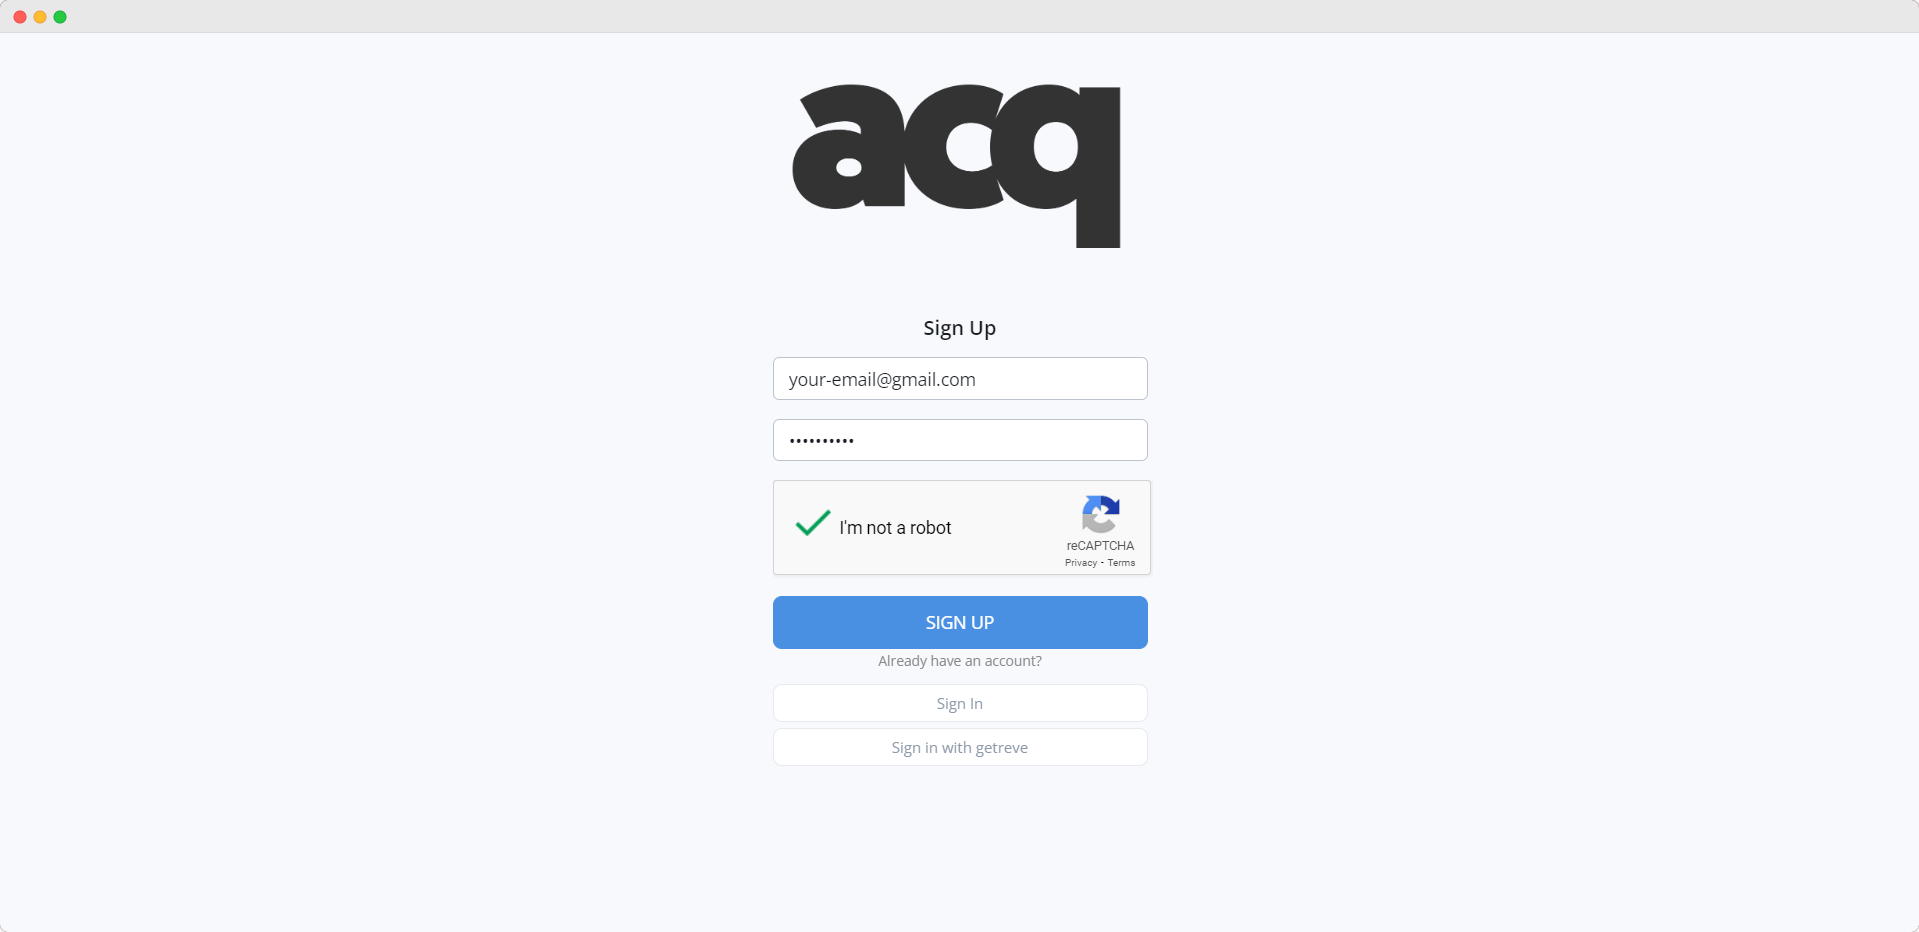
The first thing to do is to follow this link and create a free account. Nothing complicated, right :)? Now you can go to the next step.
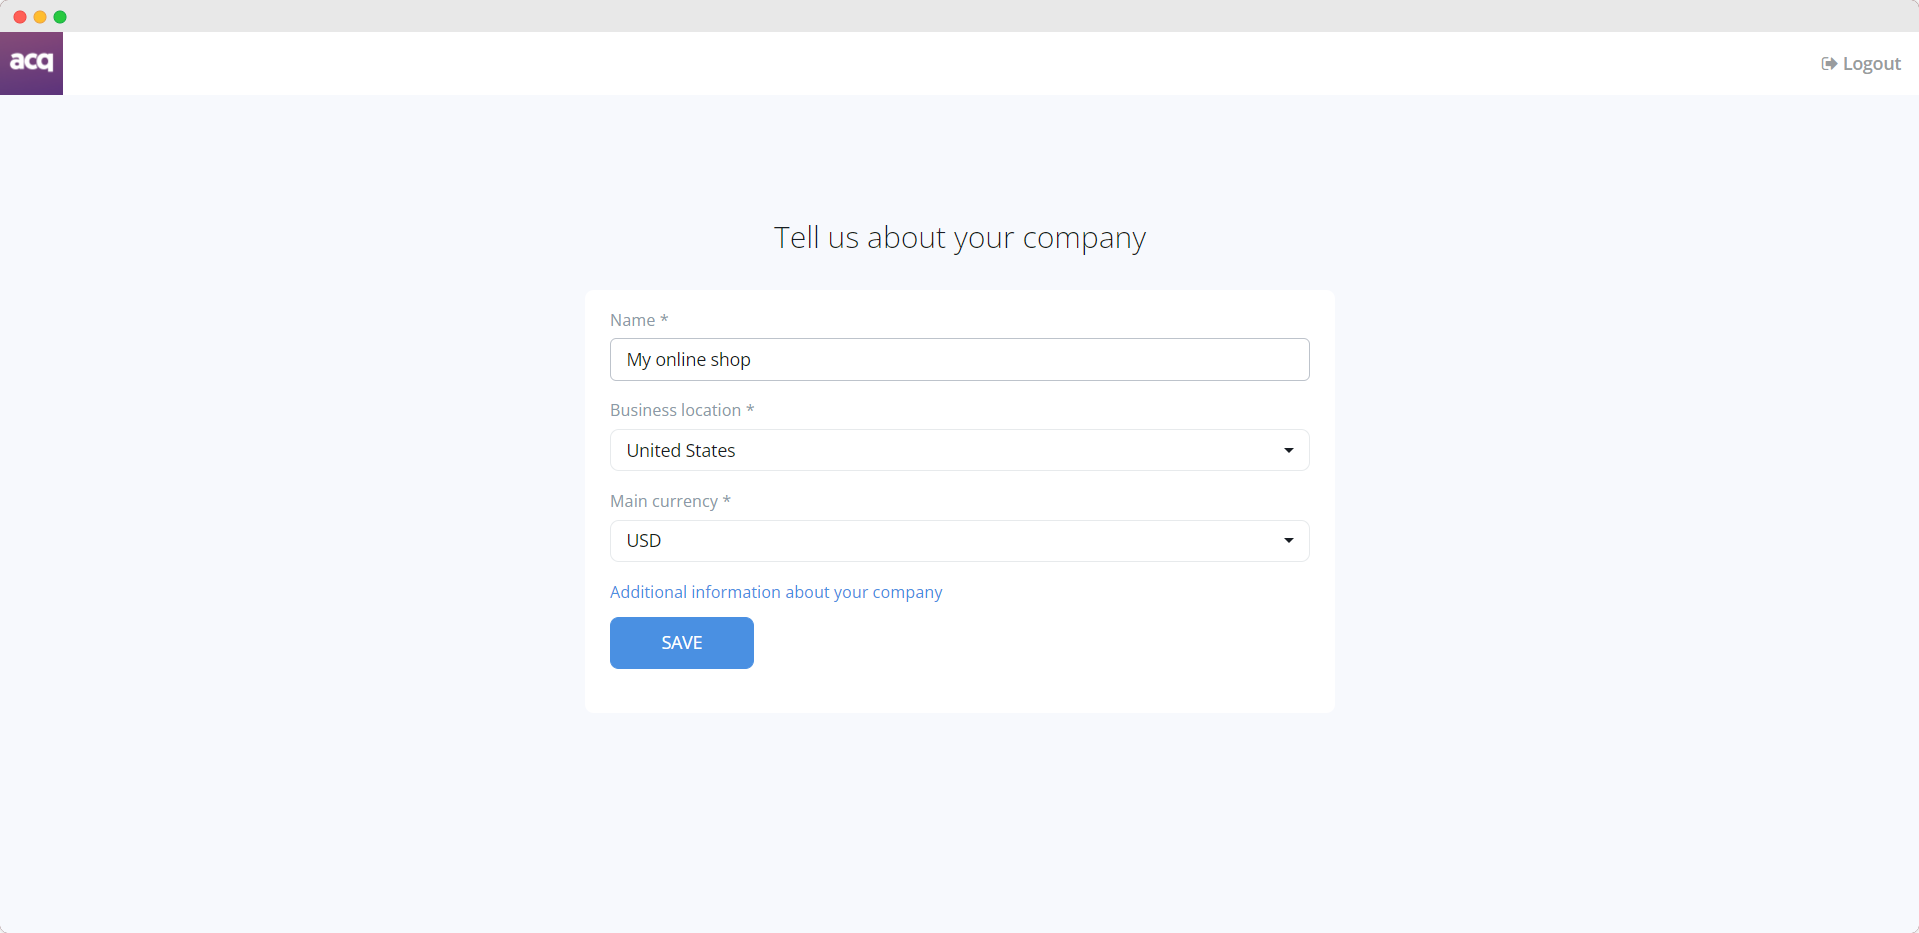
In the next window, you need to enter the name of your company, choose a currency and your business region. You can also provide more detailed information if you wish, but it is not necessary at this stage. Please keep in mind that all information can be changed later in the system settings, except for the chosen currency.
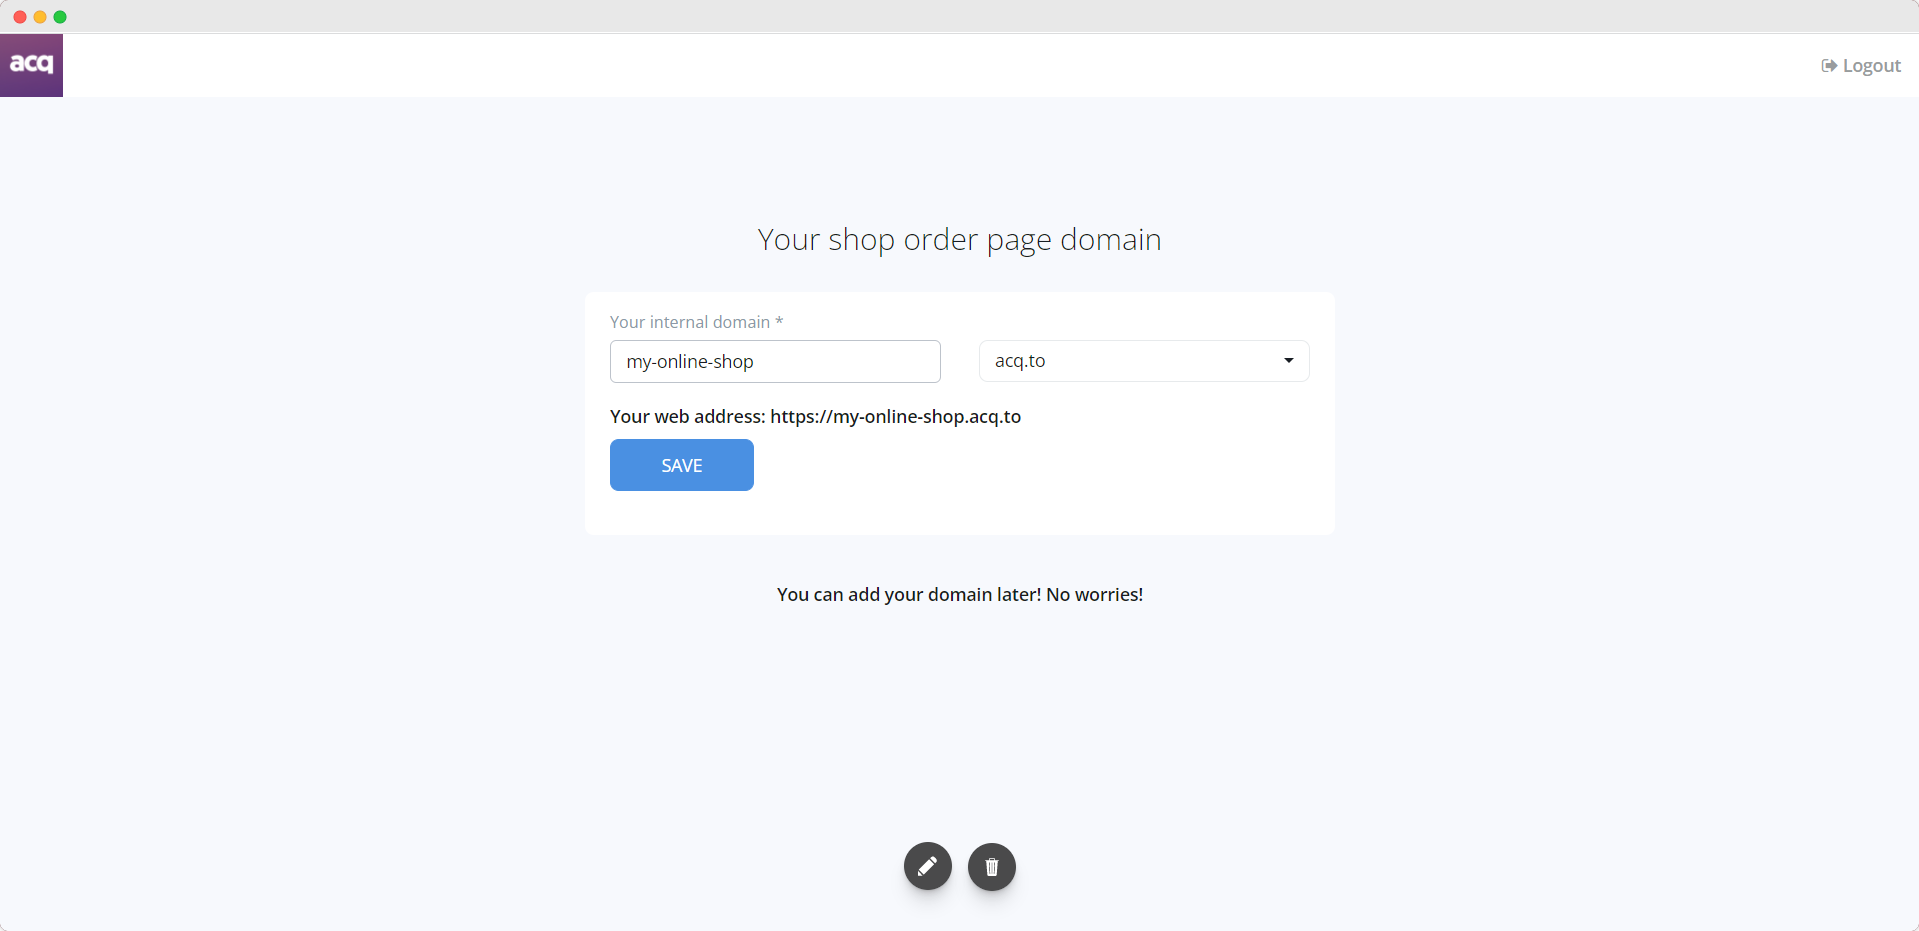
Now you need to come up with an address for your future online store, as well as choose one of the suggested domains. If you want, you can connect your own domain later in the settings, but for now let's move on to the next step.
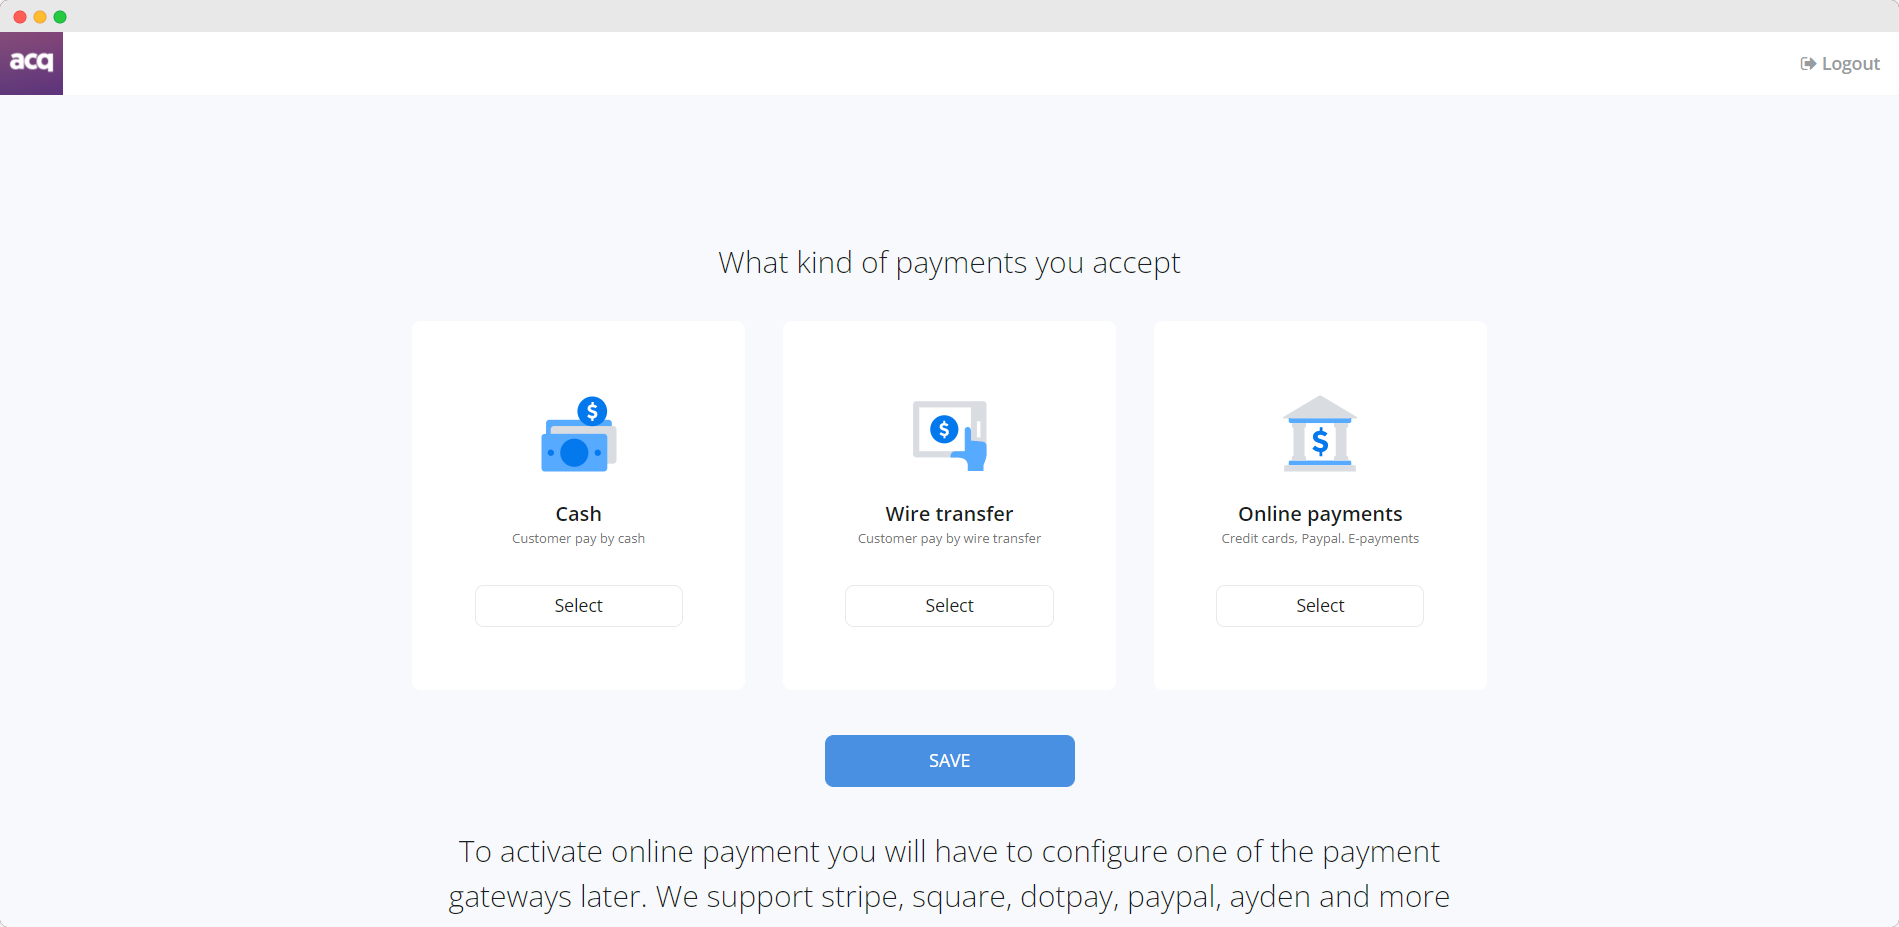
At this stage, you need to choose how you want to receive payments from your customers. Let us give you a brief introduction to each of the available methods.
- Cash. Here it's simple: by choosing this method, you will allow your customers to pay for their orders in cash upon receipt.
- Wire transfer. A more traditional method of payment. By choosing it, your customers will be able to pay by your bank account details. Please note that such transfers can take from one to several working days.
- Online payments. The most convenient and fastest method of payment. By activating this method, you allow customers to pay with credit cards, Paypal, and other popular payment systems.
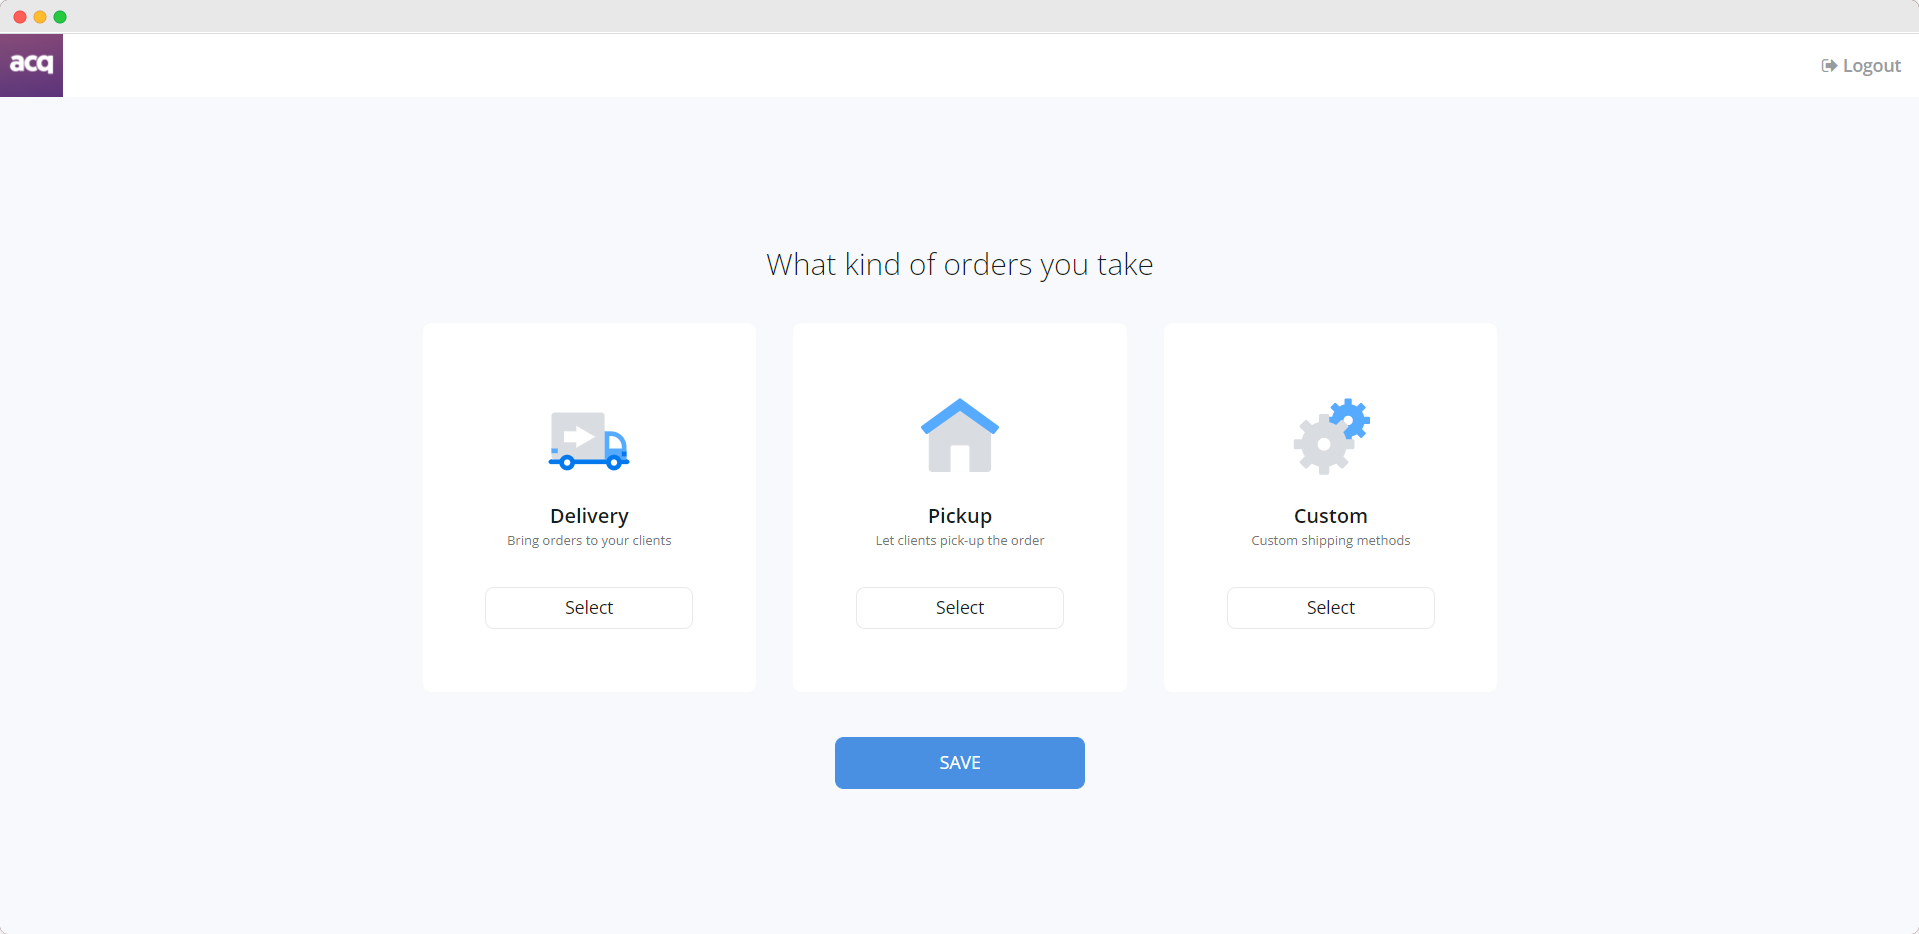
Your further choice depends on whether your store has a delivery option. If there is such an option, you can set all the necessary conditions - select the delivery area, adjust the cost, as well as set the minimum order value for delivery. Otherwise, you can activate the possibility of self-delivery of goods to the specified address.
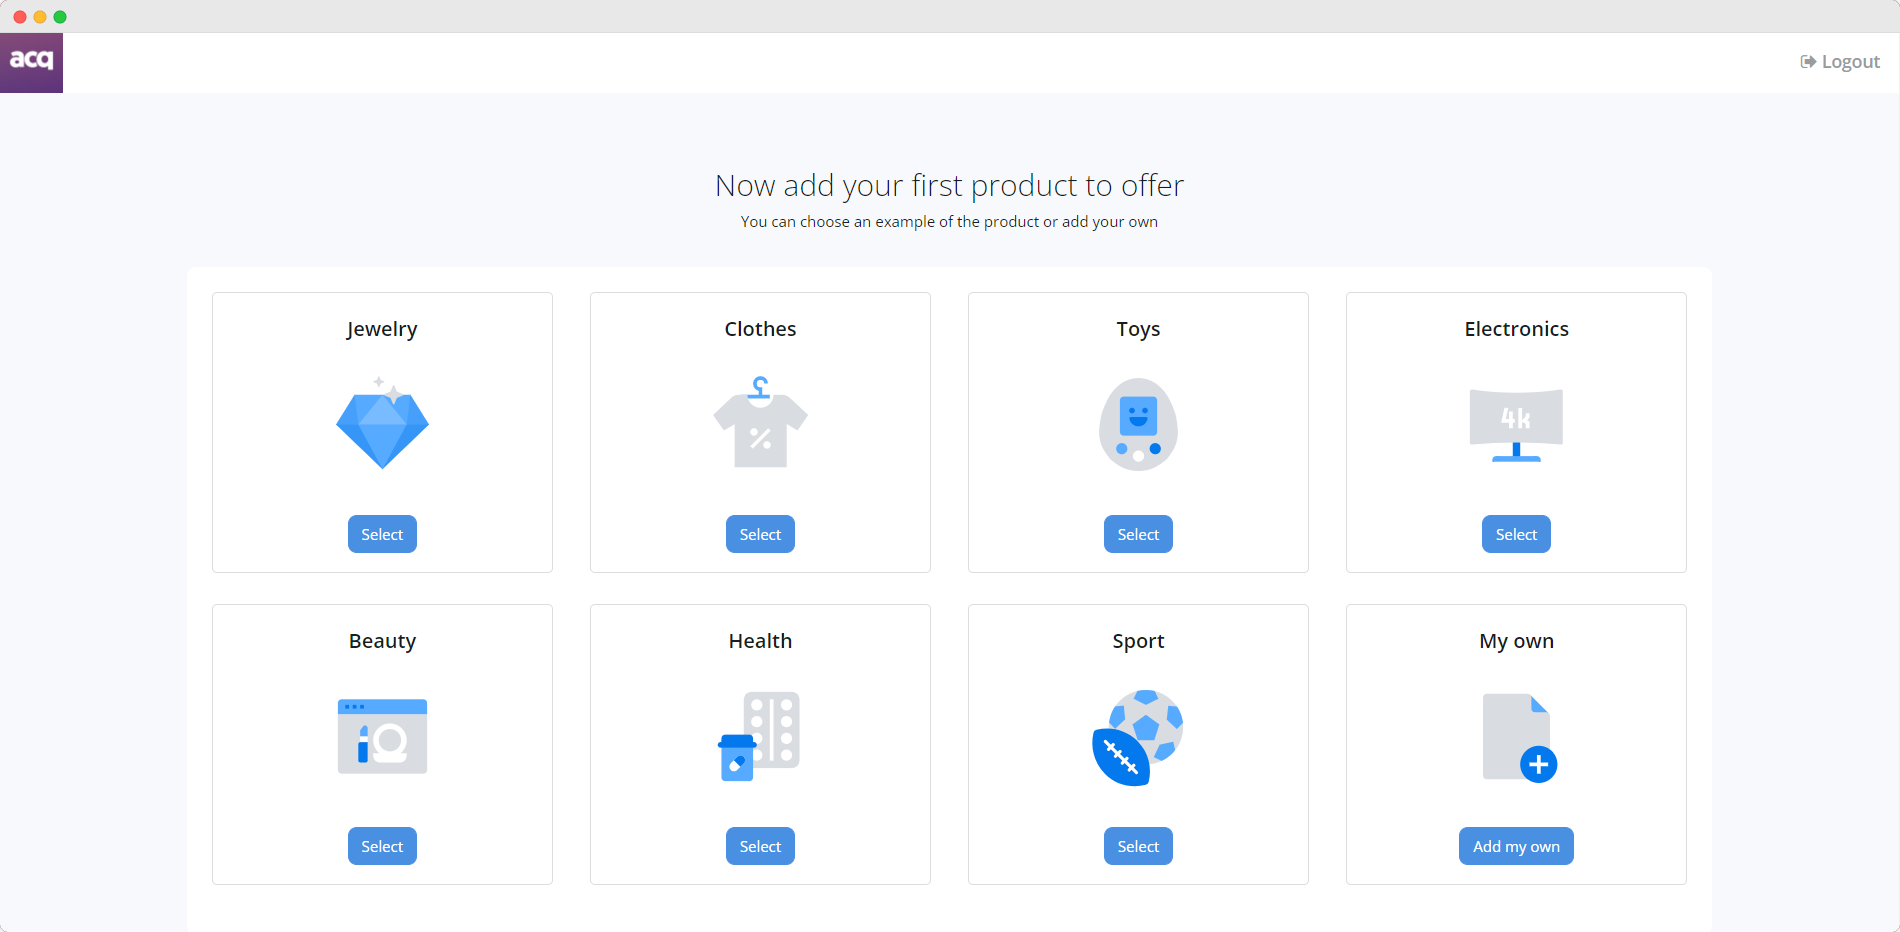
Next, you need to select the first product that will appear on your page. You can add your own, or choose one of the suggested options. In any case, all products can be changed later in the settings.
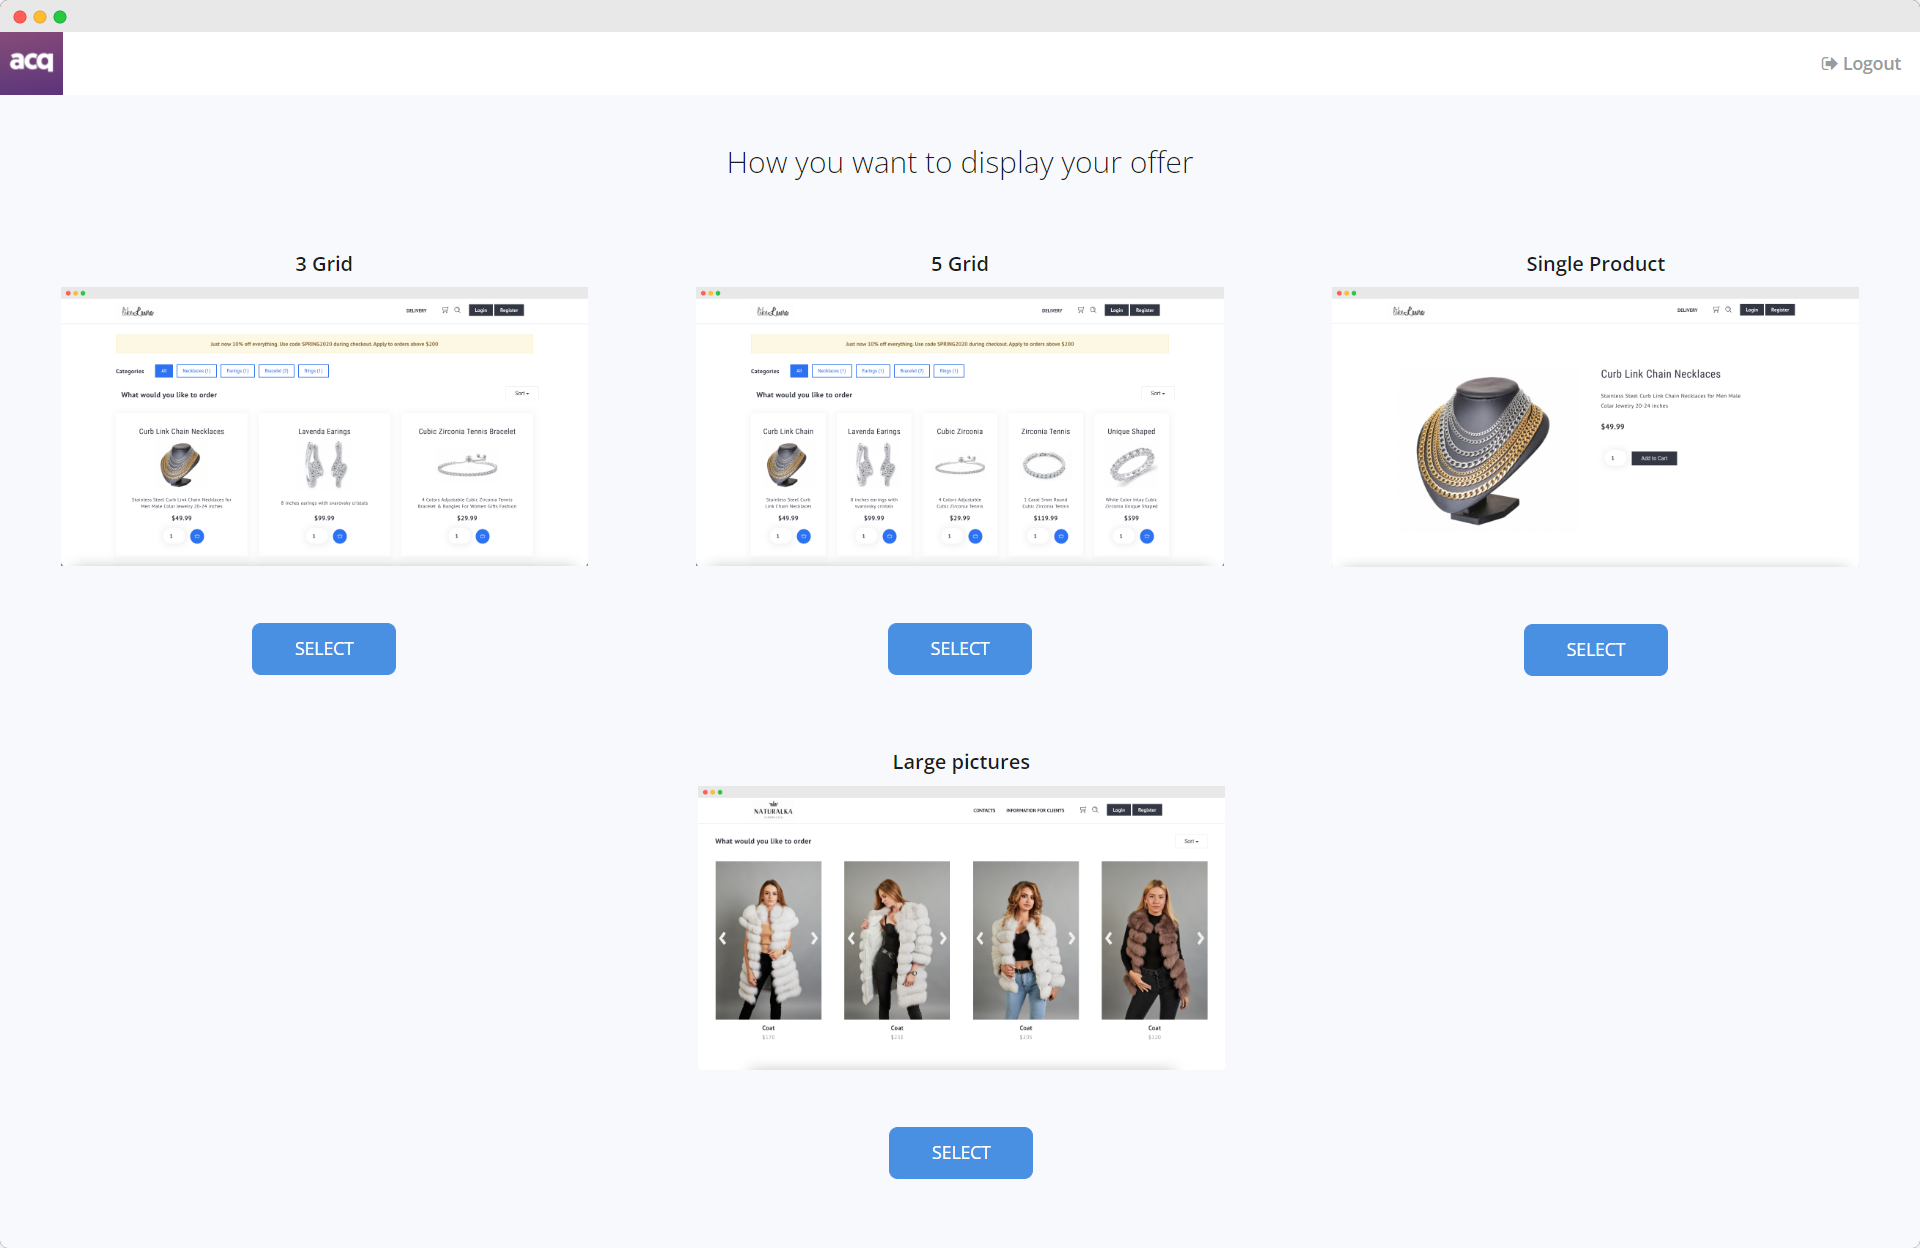
The last thing you need to do to complete the registration process is to choose, how to display products on your page. You have several options:
If you choose the default display of your products in grid mode, your customers will see colorful product previews arranged in a row of three or five.
A single product mode allows you to demonstrate a specific product as soon a client enters your webpage. In the system settings you can change the main product, as well as suggest your clients the other ones in a form of recommended goods.
In the last case, by selecting the large windows mode, you get a display of your products with large pictures, name and price in a row of 4.
That's it! From a technical point of view, your store is completely ready to serve customers. However, there are still a couple of things that need to be mentioned in this tutorial.
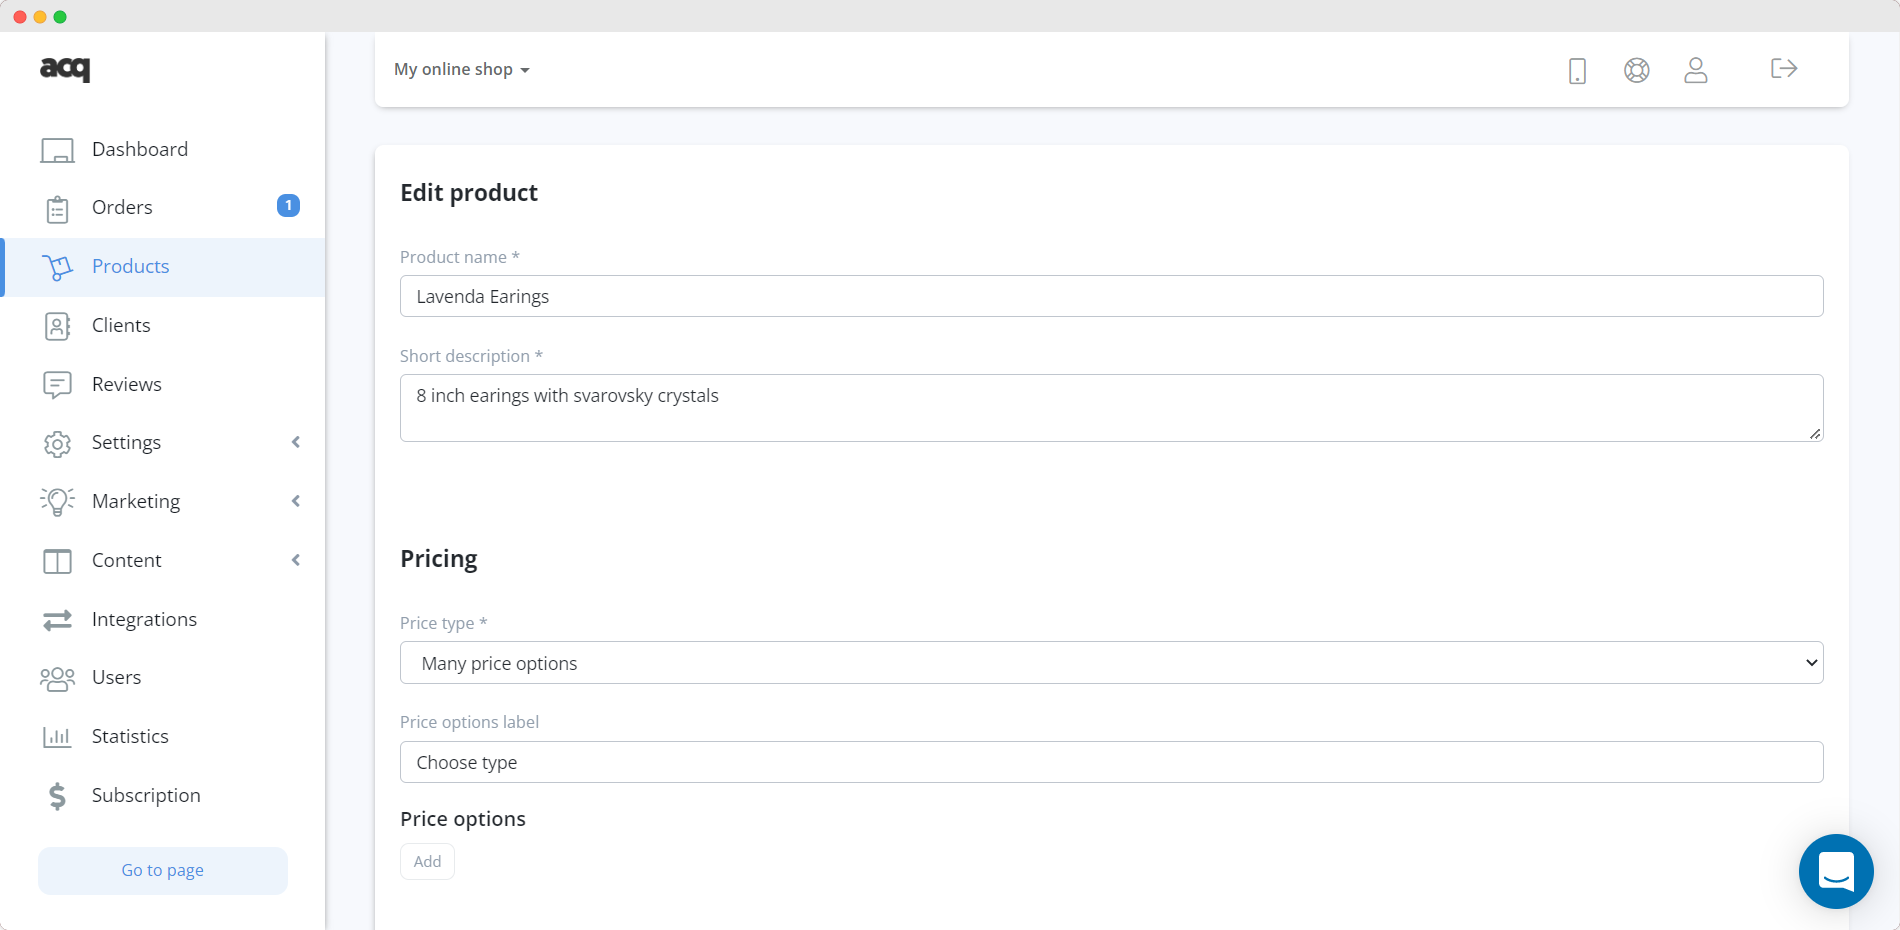
The "Products" section contains a list of all the products in your online store. Our platform gives you a wide range of options for managing them: You can add, delete, edit, temporarily hide certain products, as well as manage categories. When adding / editing a product you can fully customize its appearance: from product name, price and photos to advanced custom settings.
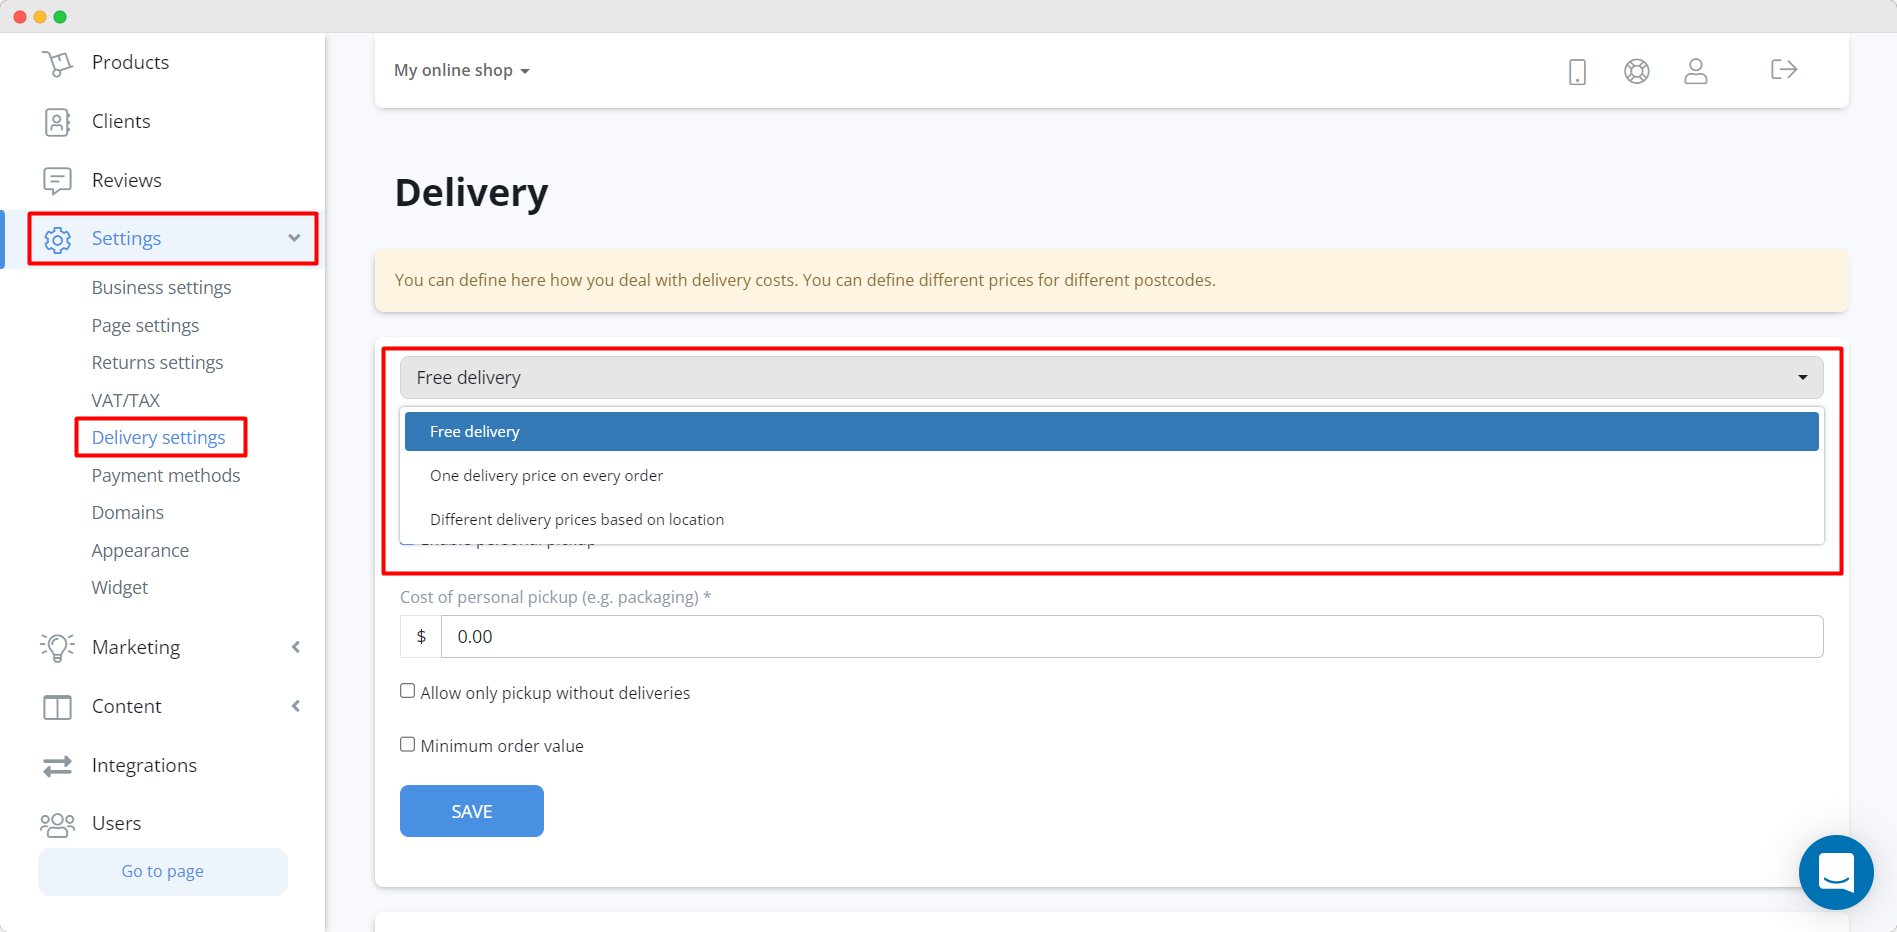
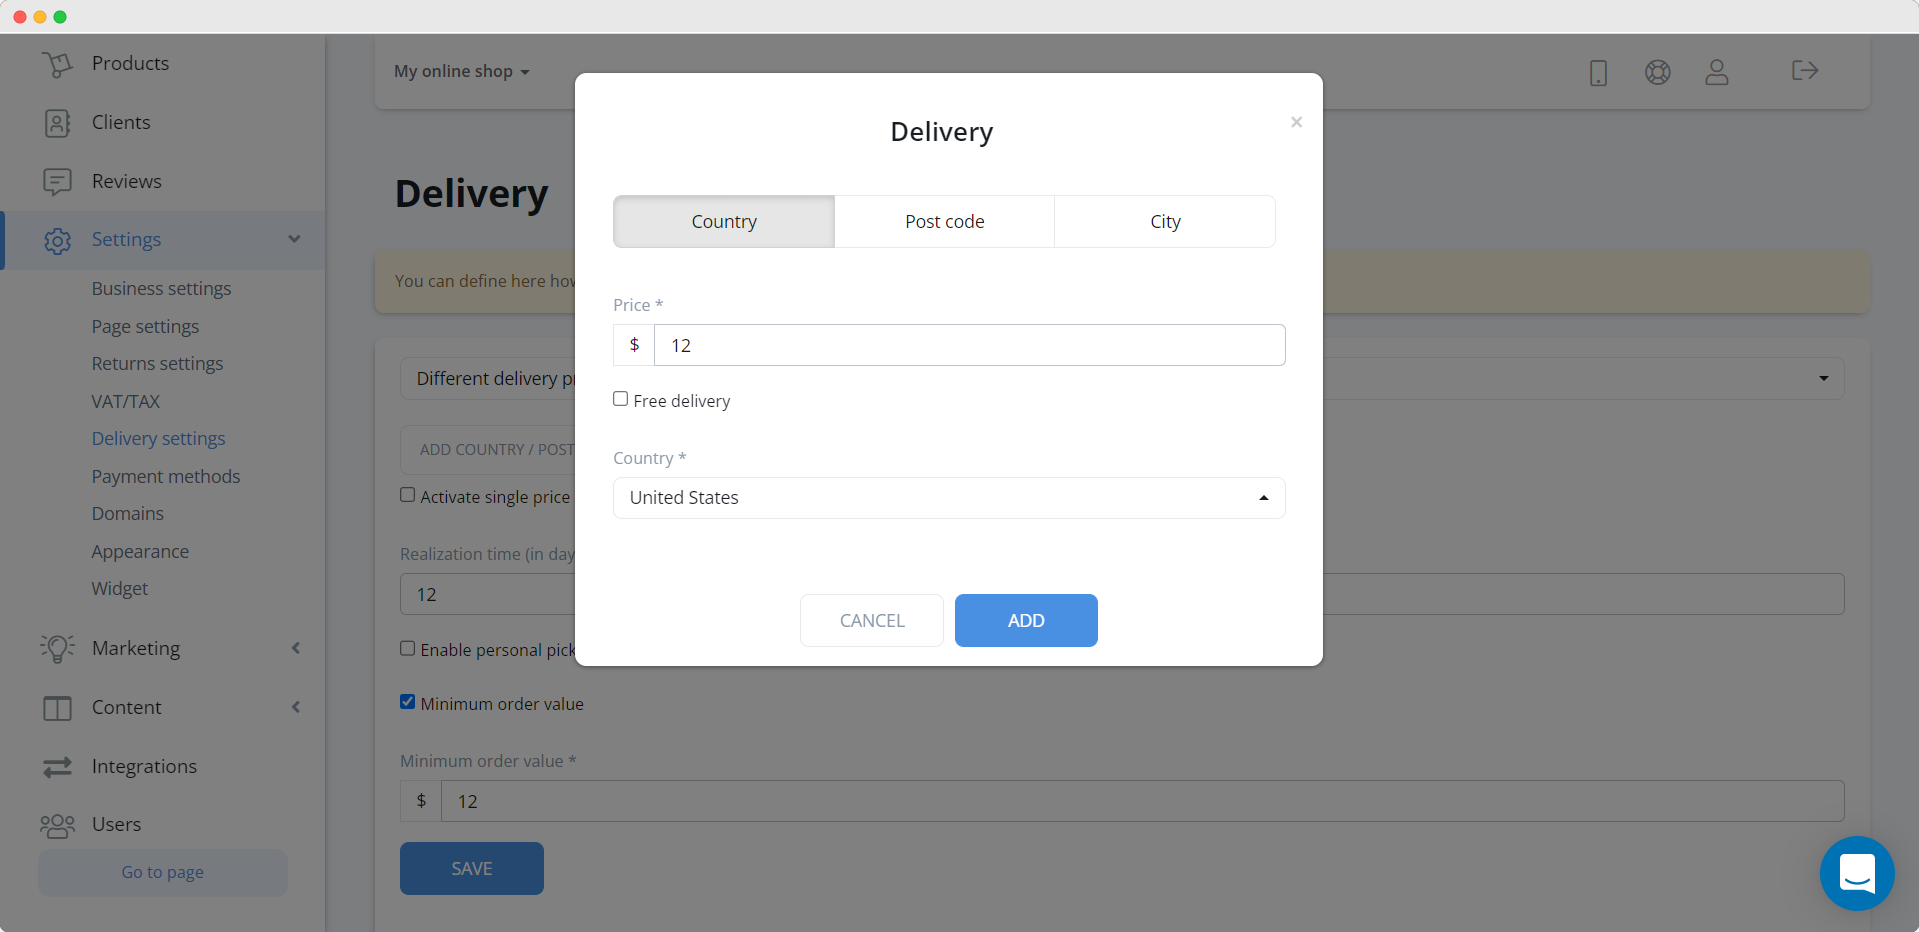
To configure the delivery option, go to “Settings” => “Delivery Settings” tab. You have 3 options to choose from: free delivery, one delivery price on every order and different delivery prices based on location. Let's discuss each option individually.
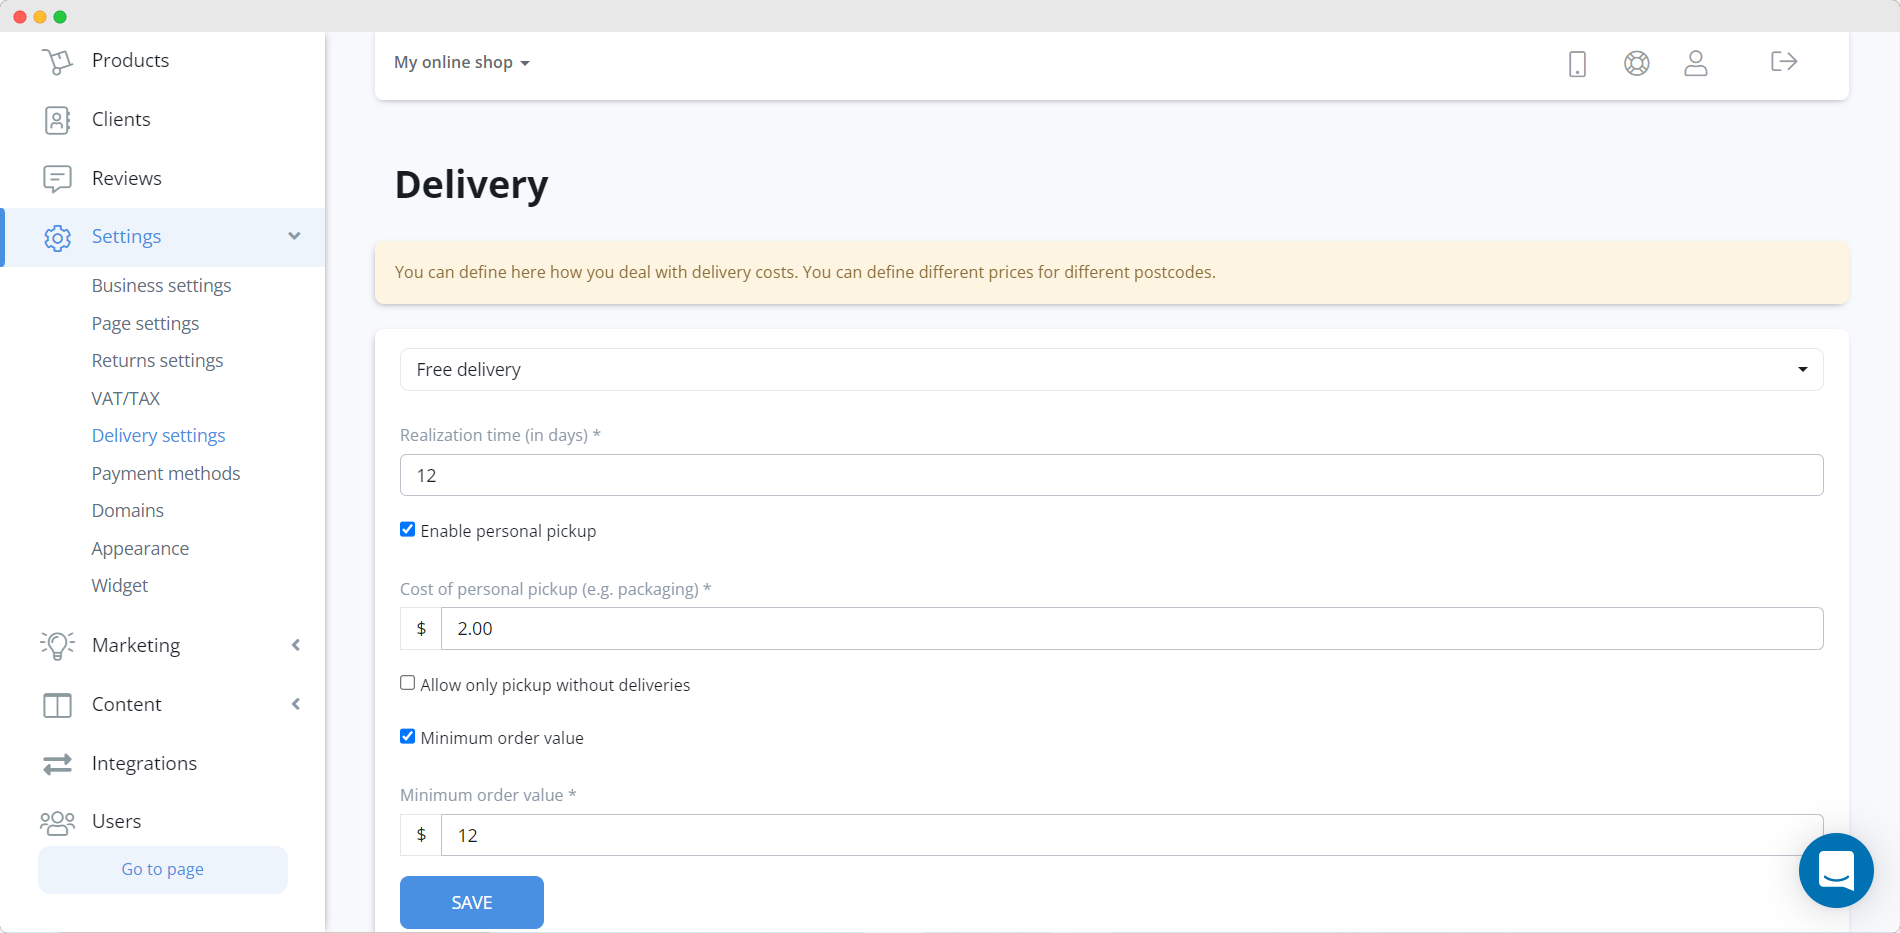
Free delivery does not involve charging the customer any fee. However, the system provides the ability to set a minimum order value to activate this function. In addition, this section contains the ability to set the approximate time of realization in days, as well as to configure the self-delivery of purchased products.
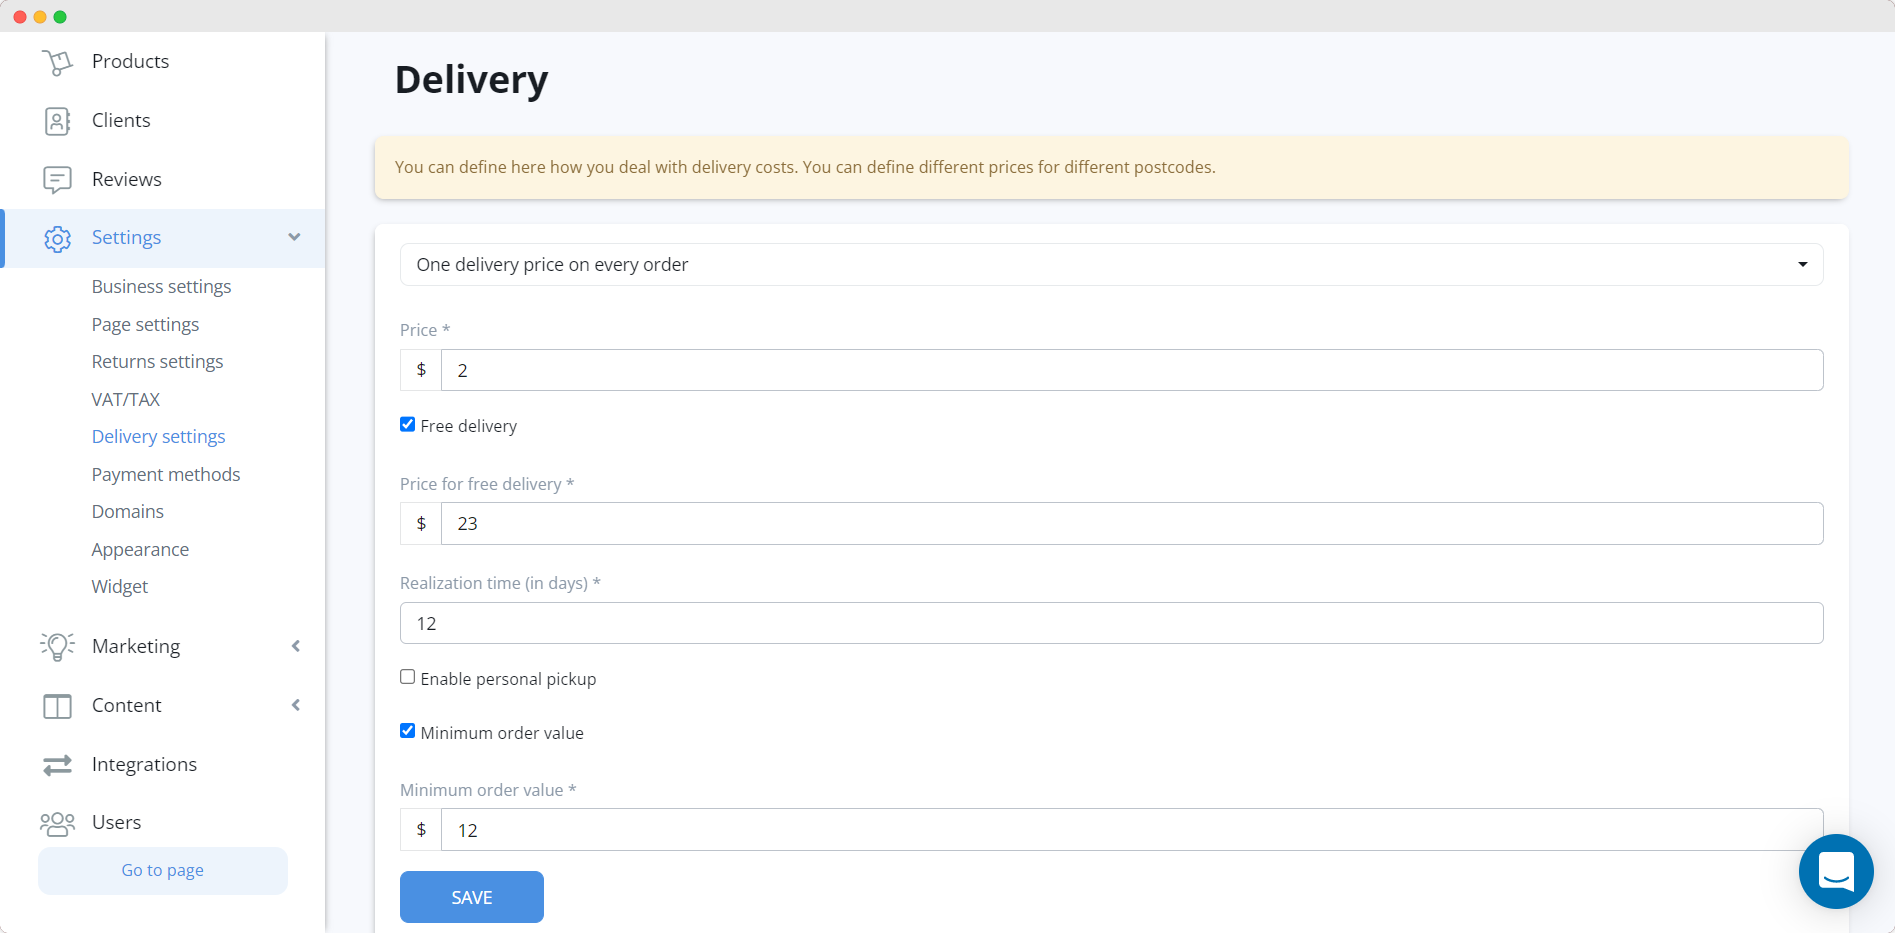
The next option allows you to set a single price for the delivery of products to your customers. As in the previous option, you can set a minimum order value to activate this function and enable self-delivery.
The last option allows you to set different delivery prices depending on the country/city or postal code of your customer. To activate this feature, simply list all shipping areas and the prices for them.
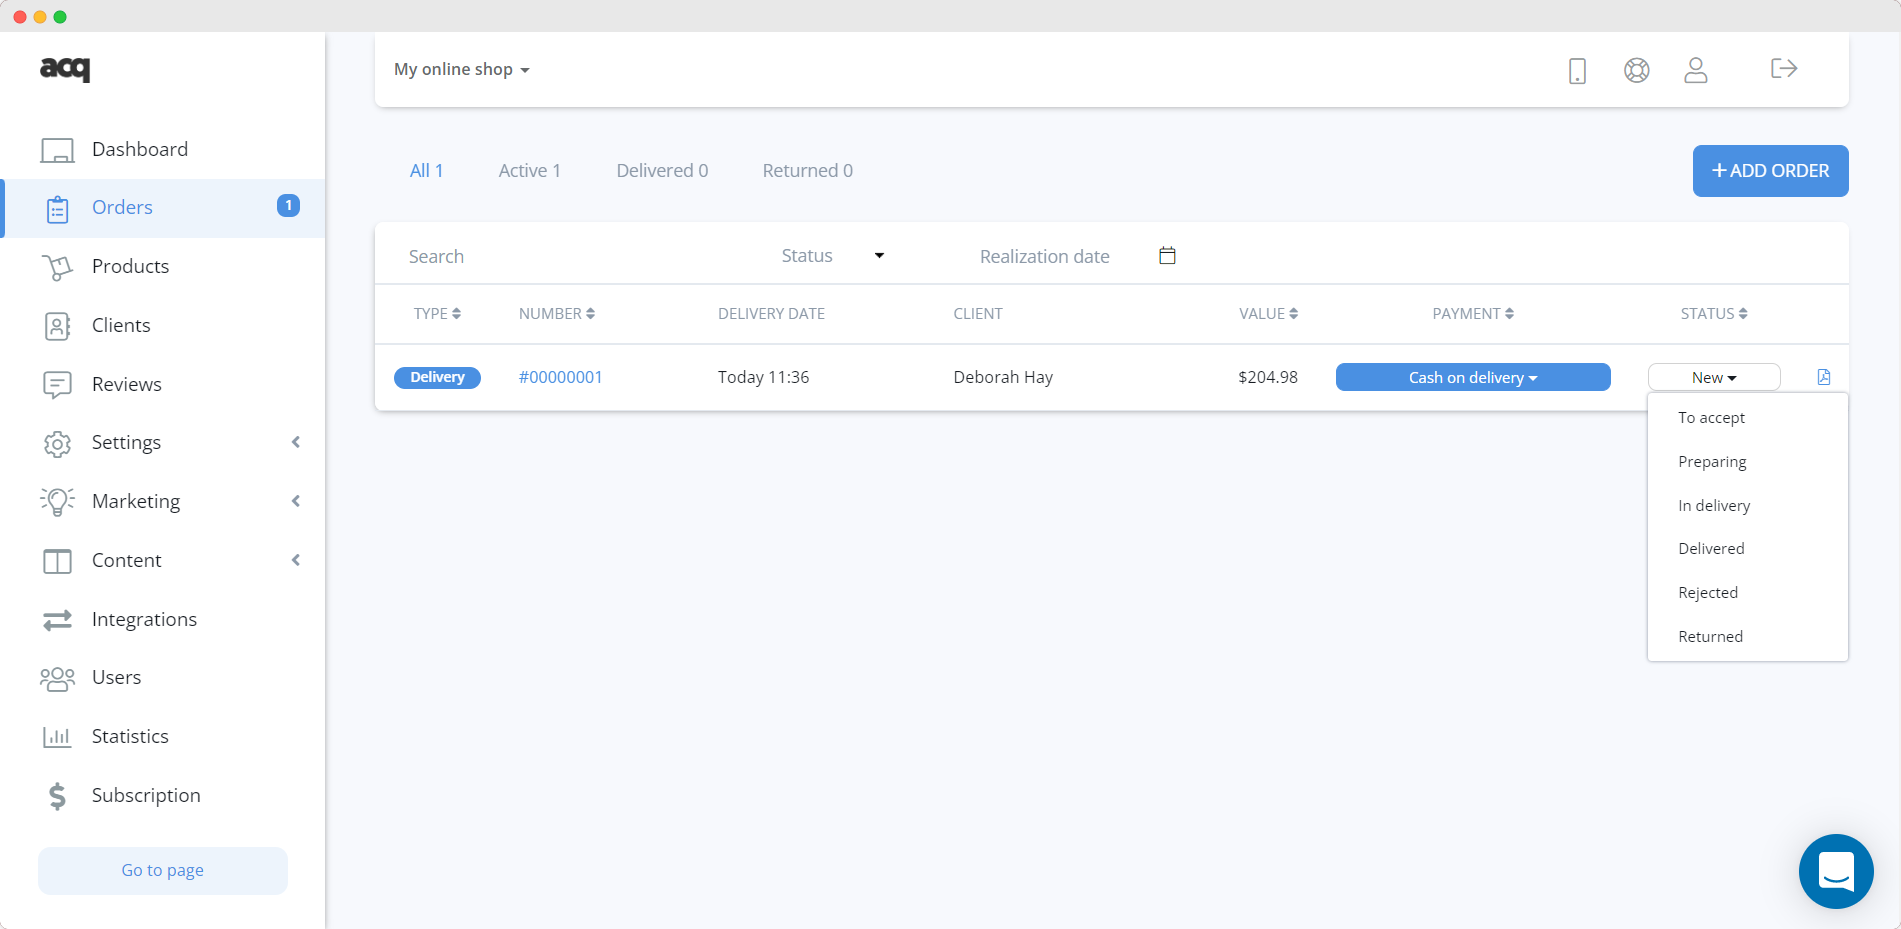
The "Orders" tab contains information about all orders entered into your system. To manage your orders, you have the ability to change the order and payment statuses according to the current moment, view detailed information about the order by clicking on its number, and add orders manually if they were not received through the website.
Now you have all the information you need to start building your own online store! You can learn more about the system by watching the corresponding videos on our YouTube channel. But for now - thanks for reading!
